Introduction
LEGO and Porsche have collaborated on a number of detailed and fun models that are entertaining to build, play with, and display. These models range from simple to very complicated and accurate taking several hours (or days) to complete. We touched upon some of our favorite models in our other article titled, “LEGO Porsche Cars – Our 5 Favorite Sets” where we outlined the coolest Porsches to build out of LEGOS. This one we’re going to go through is actually one of them on our list.
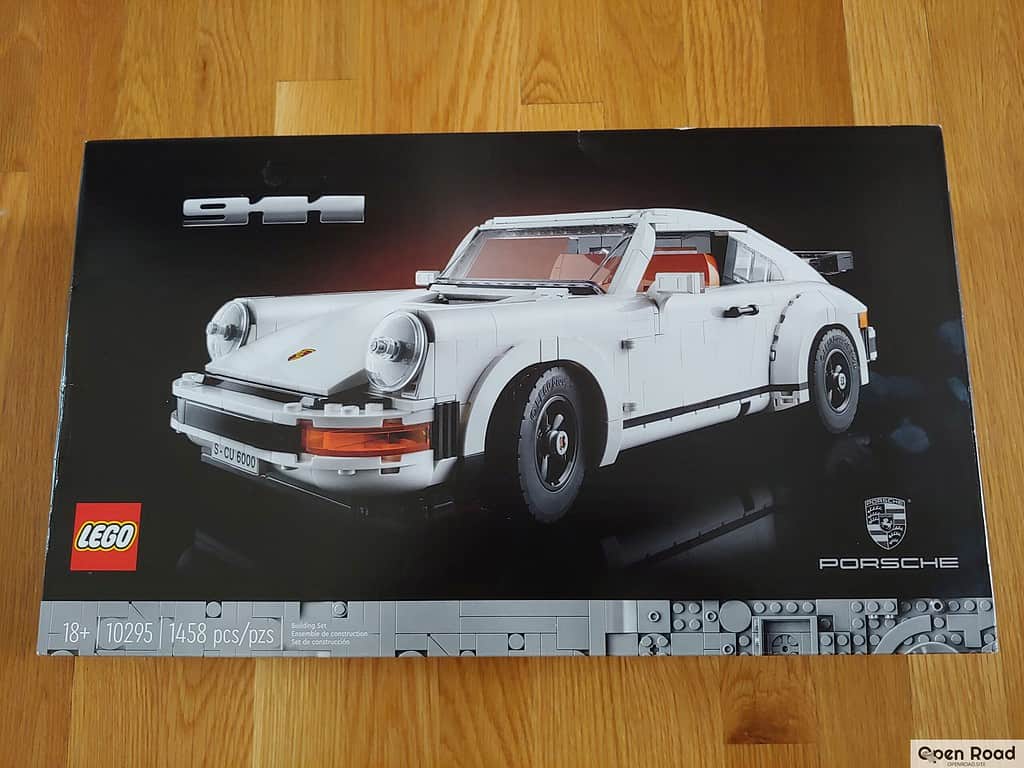
During one of our trips to LEGOLAND in Florida, we picked up the LEGO Porsche 10295 kit which is based on the original air-cooled 911. The kit is unique in the sense that it gives you the option to build either a Turbo or a Targa vehicle. Unfortunately you can’t build both at once so eventually it comes to a point where you have to make a choice. If you’re interested in saving yourself a trip to Florida and buying this kit online, head right here for the best price.
This project will be handled by me and my 8-year old son. He likes to complete these kits in record time so although he’ll be doing the heavy lifting, I’ll be providing quality-control on the back end. After all one of the worst feelings with building something so intricate is getting close to the end and realizing you made a critical error all the way at the start.
This same post will continue until the entire model is built. So keep checking back for updates and see how it went for us and what the finished result looks like!
Day 1 (Jan 17, 2022): Unboxing and Getting Through Bag #1
All of the build-up leads to this moment…the unboxing!

The box looks like something Porsche would use to package this same kit. Unfortunately it uses “thumb tabs” that require pushing and then pulling the whole thing open. This means the box won’t be in great shape when you’re done opening it. This can be problematic if you want to save it for later. But in any case it opens easily and out fall the numerous bags of pieces:

After dumping all of the contents we took a look at the instruction manual. Wow this is a heavy booklet and we’ll definitely want to keep this in our Porsche reading library. It looks great and we hope it’ll be clear enough for us to successfully complete this without incident:

Opening the booklet shows how there is mention of the history of Porsche and in particular the 911:

Ok so now it’s time to get started!
We went through the first bag with little difficulty. The instructions were pretty clear but sometimes there was something placed at a strange angle which required a couple of different looks to make sure it was completed properly. After several minutes this is where we were:

Eventually bag #1 was all said and done. We had what appeared to be a floorpan but really who knows? This will be all for today, will start on bag #2 the next time!

Day 2 (Jan 17, 2022): Gets More Complex With Bag #2
We had finished the first bag with little trouble so were excited about bag #2.
Upon opening this one you could immediately see it would be a lot more complicated with a number of small parts compared to what we started with:

While working on the assembly process I remembered forgetting to take a picture of the back of the box. So here it is:

About halfway through the second bag at this point. Still no major issues at this point and pretty much smooth sailing:

Now it looks like we’ve completed the rear passenger compartment of the car. Reason I say this is because the booklet mentions that the 911 was known as a “2+2” instead of 4-seater since the back seats were so tiny. Plus these smooth brown surfaces do resemble seats. But again who really knows since we’re just starting out!

Uh oh…We have some trouble here!
There are two arms that attach to the body and are hinged so they can move somewhat freely. Unfortunately with ours they don’t seem to be resting on the same spots. We tried to troubleshoot but hunger and lack of focus forced us to call it quits before bag #2 was completed. So here is where we stand for today. I’m sure we’re recognize the error quickly the next time but this has been our first “oops” moment so we’ll see where things went wrong and go from there:

Day 3 (Jan 29, 2022): Back on track and Bag #3
Life got in the way so it took a while to get to this update. Had to go back a few steps and discovered our issue that was previously eluding us. Had to give my son a life lesson here that getting this done quickly could actually cost us time if we keep having to correct our mistakes:

We were pretty close to the end of that bag so now to open Bag #3:

Unfortunately our time with this bag was cut short as we had to head out. But no issues we can see so far and we’ll be able to continue again the following day:

Day 4 (Jan 30, 2022): Fixing More Mistakes and Completing Bag #3
So there’s a reason the box says, 18+. It’s probably because 8 year olds wants to get this thing done ASAP! So again we had to go back and correct a few mistakes because of rushing through to finish this project. All is good though, we recognized our mistakes and started to see this mass of bricks beginning to transform before our eyes into an iconic Porsche 911:

Now little details are starting to appear. The recognizable reflector bar with the “PORSCHE” font along the rear is now in place and with that bag #3 is DONE!

Day 5 (Feb 27, 2022): Air-Cooled Heart and Big Problem
Life got in the way and it took us a while to get back to building again. But here we go on to bag #4!
This is an exciting bag as the components to make the flat-six engine are contained within. We put it all together and look at how cool that thing is:

Couldn’t get enough of it so here is a closer view:

Soon enough we were able to install the engine in its new home:

After the engine work it became time to work on the interior. Since the back seats had already been built the next step was to create the front seats. These were finished in what I consider to be “Natural Brown”:

And just like that we were done with bag #4!
So on to bag #5 we go and I had to step away for a few moments. When I returned my son complained that he couldn’t find a piece we needed to complete the second step in the process. I figured since he likes to rush he may have just overlooked it. But to our surprise the piece was nowhere to be found. I looked further ahead in the instructions and noticed that this same type of piece was going to be needed around 7-8 more times just for bag #5. So we had an obvious problem here.
I always worried and wondered what would happen if you got deep into a complicated LEGO build and found pieces missing. We were pretty bummed considering we were hoping to finish 2-3 bags during this session but now we had to stop. The following day I called LEGO customer support and they were quite friendly and accommodating. I provided my model # and thankfully the manual had the actual part # listed in the back that I referenced. The agent told me no problem, they’ll send out a bag of new pieces ASAP!
Once those pieces are received we’ll try to get this build again and hopefully have some additional progress to share with you all!